Configuring QR Code-Based Authentication

Note: QR Code-Based Authentication is an Advanced Authenticator available as part of the Professional edition of ADSelfService Plus.

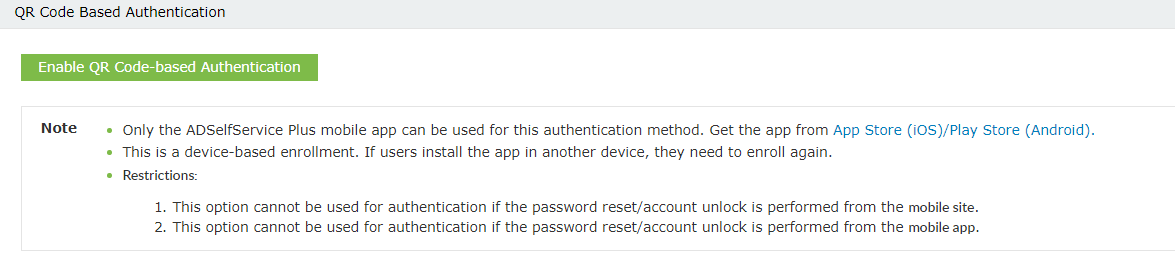
Once QR Code-based Authentication is enabled, users need to scan the displayed QR code to prove their identity.

  1. Navigate to Configuration → Self-Service → Multi-factor Authentication → Authenticators Setup.
  2. From the Choose the Policy drop-down, select a policy.

    Note: ADSelfService Plus allows you to create OU and group-based policies. To create a policy, go to Configuration → Self-Service → Policy Configuration → Add New Policy. Click Select OUs/Groups, and make the selection based on your requirements. You need to select at least one self-service feature. Finally, click Save Policy.

  3. Click QR Code-based Authentication section.
  4. Select Enable QR Code-based Authentication.
  5. QR Code-based authenticator

Important:
  • Users need to download the ADSelfService Plus iOS or Android mobile app to use this authentication technique.
  • This is a device-based enrollment. If users install the app in another device, they need to enroll again.
  • If a user performs self-service password reset/account unlock from a mobile site, users cannot QR Code-based Authentication to prove their identity. 

Thanks!

Your request has been submitted to the ADSelfService Plus technical support team. Our technical support people will assist you at the earliest.


Need technical assistance?

  • Enter your email ID
  • Talk to experts
  •  
     
  •  
  • By clicking 'Talk to experts' you agree to processing of personal data according to the Privacy Policy.

Don't see what you're looking for?

  •  

    Visit our community

    Post your questions in the forum.

     
  •  

    Request additional resources

    Send us your requirements.

     
  •  

    Need implementation assistance?

    Try onboarding


Copyright © 2024, ZOHO Corp. All Rights Reserved.